Aquascaping is one of the most fascinating forms of art in the fishkeeping hobby. The careful curation of an aquascape has multiple unique benefits.
It helps destress your tank inhabitants. Practicing the art is also a unique way to channel your creativity and design skills.
The art is so popular that there are even dedicated competitions and forums for it. Needless to say, it requires lots of effort, time, and financial investment to create an aquascape.
So, if you’re intrigued by this art and give it a try, let’s begin!
What is the Definition of Aquascaping?
The simplest way to define aquascaping is “underwater gardening” alongside fishkeeping. It involves planned arrangements and decorations of all details – like plants, rocks, woods, and other details to create an aesthetically pleasing underwater view.
Needless to say, it is much more complex than simple gardening. After all, it involves taking care of your fish and balancing it with aquatic horticulture, like pruning and understanding plant physiology.
What are the Fundamental Principles of Aquascaping?
Before you get into the details of aquascaping, you need to understand a few principles to get a clear picture. So, here are a few to help your first aquascape project become a success!
1. Minimalism
Often, beginners get confused because they want to incorporate a large number of plants. They believe in “the more, the better” policy. But that’ll only make things complicated and haphazard. So, go for a limited number of plants.
2. Variety
Just because you’ll have only a few plants, you don’t have to choose only one type. So grab a vast variety to avoid making it boring. Build a particular theme in mind before you choose the plant types. This will help you care for them easily as they’ll have similar needs.
3. Space Proportion
Aquascaping isn’t about filling the aquarium with lots of plants. You also have to leave space for your fish’s comfortable life. So, invest mostly in small-leaved plants to prevent space crunch and maintain a proportionate look.
4. Determination
Since aquascaping isn’t an easy art, you can only master it through mistakes. So, don’t give up easily if you have to repeatedly tear things down and try out a new layout from scratch. Remember, experimentation will make you wiser.
What are the things needed for Aquascaping?
The following things are needed for aquascaping:
1. What Lights are needed for Aquascaping?
Since there will be plants alongside your fish, you’ll need the right lighting equipment based on the setup. Some options include:
- Metal Halides: These are bright lights of 100-400 watts.
- T5 Fluorescents: These new technology lights are thinner and brighter than T8 fluorescents.
- LED Fixtures: These are the latest technology and can be arranged differently for various effects.
Tip: Go for ones with light temperatures between 6700k and 10,000k.
2. Which Filters are required for Aquascaping?
Opt for a hang-on-back canister filter for good filtration and aesthetics. There are mechanical, chemical, and biological filtration processes. Choose one that has both biological and mechanical filter media.
3. What are the Carbon Dioxide Systems required for Aquascaping?
Invest in a reliable CO2 system to help plant growth. A few options are:
- Pressurized CO2: This is an all-time favorite for aquascapers.
- DIY CO2: The second-best option if you have a budget.
- CO2 Liquids
- CO2 Tabs
- Electronic CO2
4. Which Fertilizers are needed for Aquascaping?
Your substrate may not be able to provide enough macro- and micronutrients to your plants. So, you need to dose your tank with the right fertilizer. Some options are:
- Seachem Flourish and NPK
- Create self-made using online instructions
- PMDD [poor man’s daily drops] – cheap but not used much as it’s difficult to detect whether ingredients have unwanted chemicals.
- Iron additives – necessary for red foliage
- Dupla fertilizers
5. Which Substrates should be added for Aquascaping?
Most substrates do a decent job for plant growth. You can also add fertilizers, tabs, and pellets later if necessary. Your options for the substrate are:
- Seachem Flourite
- Aquasoil
- Clay or laterite
- DIY soil/peat moss mix
- Crushed coral (saltwater only)
- Marine dolomite (saltwater only)
Tip: Don’t use just plain gravel or sand as your sole substrate. If you use these, mix another nutrient-rich substrate as well. To add a pop of color, add colored sand.
Avoid the following substrates:
- Marbles
- Their large size keeps debris trapped
- Increase toxins in water
- Spikes chances of fish disease
- Glass flakes
- Sharp edges may damage fish skin and gills
- Disco gravel
- Unnecessary reflection of light
- Bright colors don’t go with the natural look
- Fish may feel annoyed and look dull
- Doesn’t favor fish reproduction
6. What are the Hardscape & Ornaments for Aquascaping?
Your only options as hardscape materials are – wood (driftwood, bogwood, redmoor, or rosewood root) and rock (granite, slate, limestone, and red lava rock).
Remember, different woods and rocks have different tannin levels, which leads to leaching complications. To avoid such complications, choose one type of rock and wood only as beginners.
7. What is the Aquarium Size required for Aquascaping?
As a beginner, it’s best to avoid nano tank setups of about 10 gallons. The nano tank environment is hard to control and may cause fish or plant death.
On the other hand, medium and larger aquariums need more money, electricity, and time investment. However, they are easier to maintain as they have plenty of space to dilute toxins. You won’t easily lose any fish or plant.
So, as a beginner with tight funds, get 15-40 gallon tanks. But if you want to splurge, you can go larger with 55 or 75-gallon tanks.
8. What are the Plants required for Aquascaping?
In the aquascaping hobby, the most popular plants are:
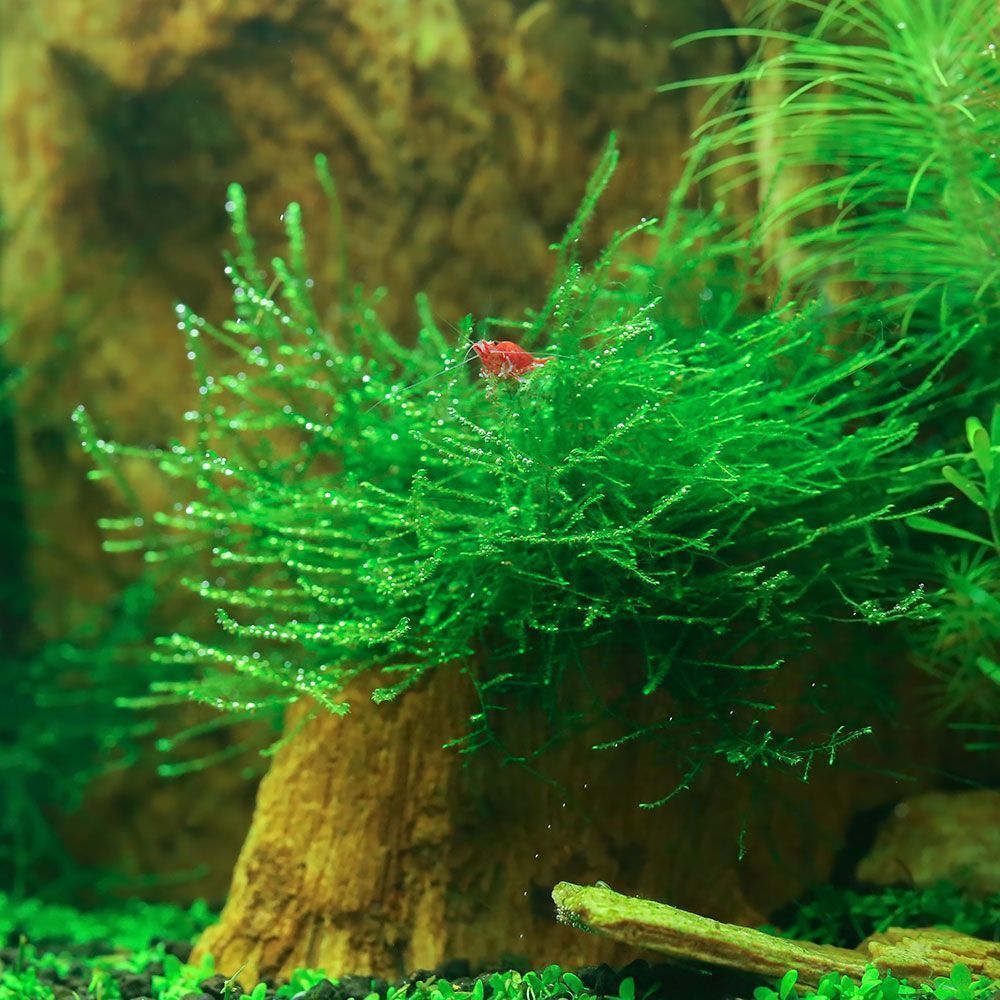
- Java moss
- Weeping moss
- Stringy moss
- Peacock moss
- Phoenix moss
- Riccia sp. dwarf
- Eleocharis sp. mini
- Bucephalandra sp.
- Hemianthus callitrichoides Cuba
- Amazon swords
- Elodea
Make sure you choose plants of all sizes: tall, medium, and short. Pick plants of varied colors to create contrast.
You must also consider the following:
- Which plants do you find most appealing?
- Which plants have environmental needs similar to your aquarium’s?
- How much space do you have?
- What’s your budget?
- What’s available in your locality?
If it’s tough figuring this out, go to the nearest aquatic plant shop and discuss.
Some recommend getting exotic plants online that are unavailable in your locality. But go for them only if you’re confident about caring for them. Otherwise, you may lose plants and may have to start from scratch.
Lastly, buy a variety of plants at once to spend less. You can also check which plants are more sustainable this way.
9. Which type of Fish is needed for Aquascaping?
If you already have an idea about the type of fish you want, then there’s no confusion. But if you need some guidance, here are a few tips:
- Choose schooling/shoaling fish like
- Mosquito rasbora
- Least rasbora
- Strawberry rasbora
- Chili rasbora
- Harlequin rasbora
- Pearl gourami
- Dwarf gourami
- Ember tetra
- Cardinal tetra
- Neon tetra
- Black neon tetra
- Green neon tetra
- Rummy nose tetra
- Three-lined pencilfish
- Australian rainbow fish
- Guppy
- Molly
- Danio
- Platy
- Swordtail
- Killifish
- Some aquascape-compatible cichlids are
- Discus fish
- Ram cichlid
- Introduce some algae-eating species like
- Amano shrimp
- Ghost shrimp
- Cherry shrimp
- Bumblebee shrimp
- Nerite snails
- Otocinclus
- Avoid species that may uproot or eat your plants
- Big African or American cichlids
- Loaches
- Large catfish
- Silver dollars
- Pacus
10. What are the Basic Tools for Aquascaping?
Here are a few more things you should have with yourself:
- Dechlorinator to detoxify water.
- Water test kits to track all chemical levels.
- Aquarium siphon for water changes and vacuuming substrate.
- Algae scrapers and brushes for aquarium walls.
- Planting tweezers to add new plants.
- Pruning scissors to chop dead leaves.
- Heater to maintain the right water temperature.
- Thermometer to check the water temperature.
- Protein skimmer to remove debris.
How to Construct an Aquascape Visually?
To create a pleasant-looking aquascape, there are a few established rules based on mathematics and symmetry. So, let’s check them out here…
What is The Rule of Thirds for Aquascaping?
For the rule of thirds, take a look at your aquarium and imagine it with gridlines (just like in a phone camera). It should break the view into 9 equal parts with two equally spaced vertical and horizontal lines.
Where the imaginary lines intersect, take those as your focal points. There are four focal points in all.
The goal of this rule is to avoid keeping your focal point in the middle. This makes your tank look asymmetrical and natural.
What is the The Golden Ratio for Aquascaping?
By definition, the golden ratio is the number acquired when you divide a line into two parts with a simple rule:
If you divide the longer section by the shorter one, the result is the same as the whole section divided by the longer section.
And in simpler terms, the golden ratio is 1:1618.
This ratio has always been popular for styling in art, mathematics, and nature. It creates only one focal point.
What is the Significance of Focal Point(s) in Aquascaping?
The focal points are supposed to catch a viewer’s interest first. So you need to place something striking there, like a rock or a unique plant. From there, viewers are guided to look around to other appealing areas of your tank.
Small aquascapes should have only one focal point. Bigger ones must have more than one focal point, but only one of them will be the main attraction.
Tip: Too many focal points will make any aquascape boring.
Do you need to Achieve Symmetry & Shape in Aquascaping?
Do not create any sort of symmetry in your aquascape. Avoid putting anything conspicuous in the centre or add two identical structures on both sides.
You can choose from the following types of shapes for your aquascapes:
- Concave Layout: The plants are taller on either side of the tank and trimmed short in between. This gives an illusion of open space in the middle.
- Convex Layout: In this, the plants are kept tall in the middle and shorter on either side.
- Triangular Layout: The plants are tallest, only on one side. Then, the remaining plants are trimmed to slant from the tallest corner to the opposite side.
Which Aquarium Background should be used for Aquascaping?
If you plan to place your aquarium in the middle of a room, you can let it be. However, if you place it against the wall, you should use a background.
A background will help hide your cables, hoses, or even the wall. Choose from cork, wood, paint, or adhesive foliage.
How to Balance Foreground, Midground & Background for Aquascaping?
Most beginners try to keep a low foreground and go straight to a high background to make the most of the space. But this makes it visibly clumsy.
Put driftwood and stones in the midground, low-growing plants in the foreground, and make wood pieces stick out to the water surface in the background.
What are the Different styles of Aquascapes?
There are many popular styles of aquascape. Each of them has unique features based on the most common and preferred looks. Keep reading to find your favorite…
What is a Dutch Aquascape Style?
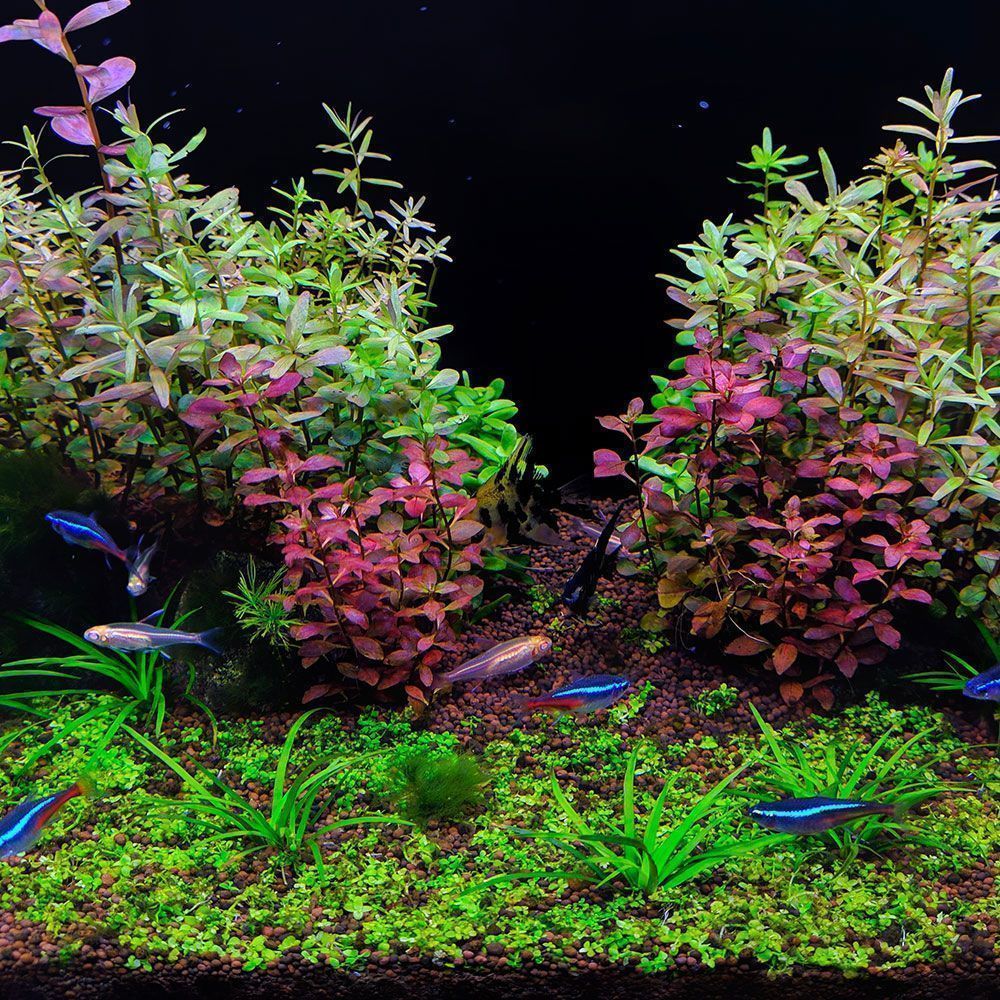
Dutch Aquascape style mimics the look of a real garden, with 70% of the tank dedicated to thin-leaved, stemmed aquatic plants. A variety of colorful plants of different species are used and are positioned neatly. It may also include rock, driftwood, and terraced substrate.
What is a Jungle/Chaos Aquascape Style?
A jungle/chaos aquascape is much easier to create (than the previous one) as it follows an untamed look. Plants are allowed to grow and turn dense and messy. It creates a natural ambiance, which is preferred by most fish.
What is an Iwagumi Aquascape Style?
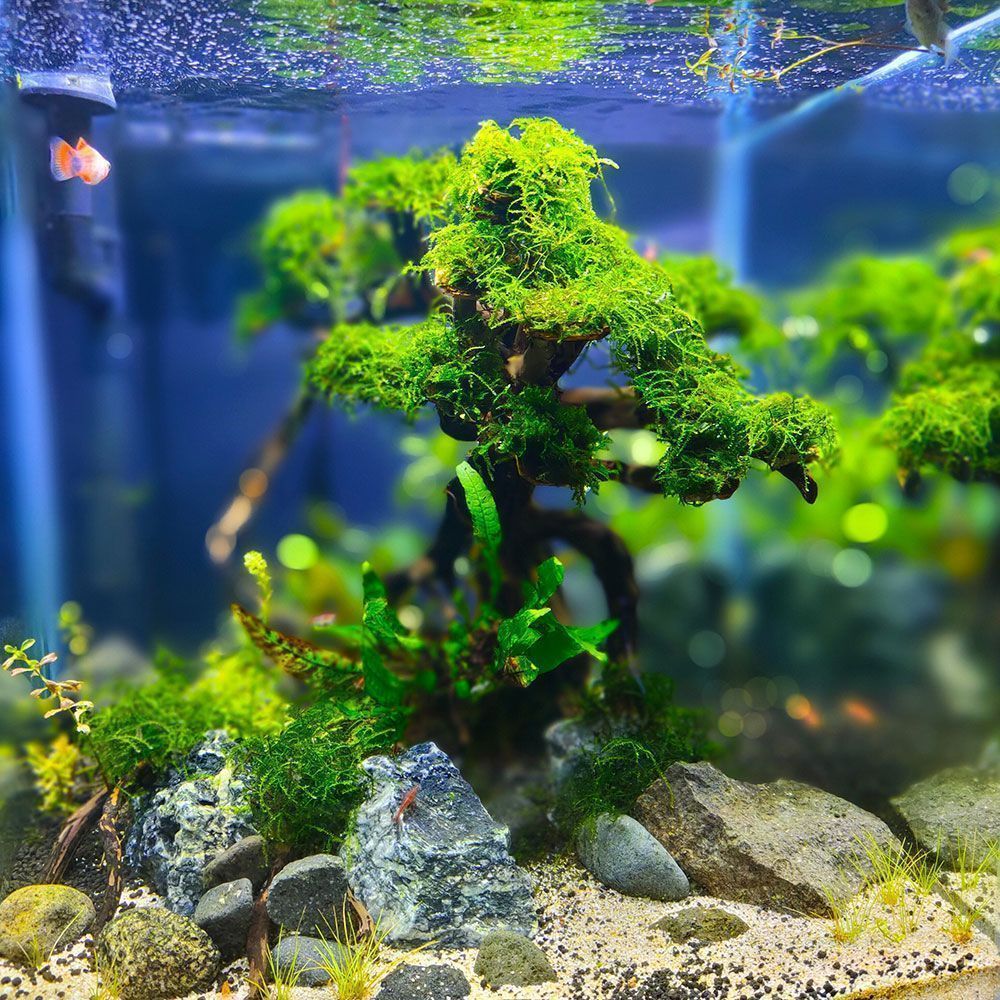
An Iwagumi aquascape uses the same colored and textured rock, generally placed using the golden ratio and some low-growing carpeting plants (phoenix moss, java, or flame).
Precisely, there are three main rocks – one primary and extensive one, aka the big Buddha, and two smaller ones. It’s based on the Japanese art of stone appreciation, Suiseki.
What is a Nature/Amano Aquascape style?
Nature or Amano aquascape aims to create mini-versions of mountains, hillsides, rainforests, or valleys. Hardscape and plants are used together.
What is a Biotope/Biome Aquascape style?
Biotope or Biome aquascape is based on adding hardscapes, plants, fish, and invertebrates that are actually found together in nature. This is the easiest in terms of maintaining water chemistry and other factors.
What is a Taiwanese Aquascape style?
Taiwanese aquascape includes plants and miniature versions of people, houses, and other structures.
What is a Hardscape-themed Aquascape style?
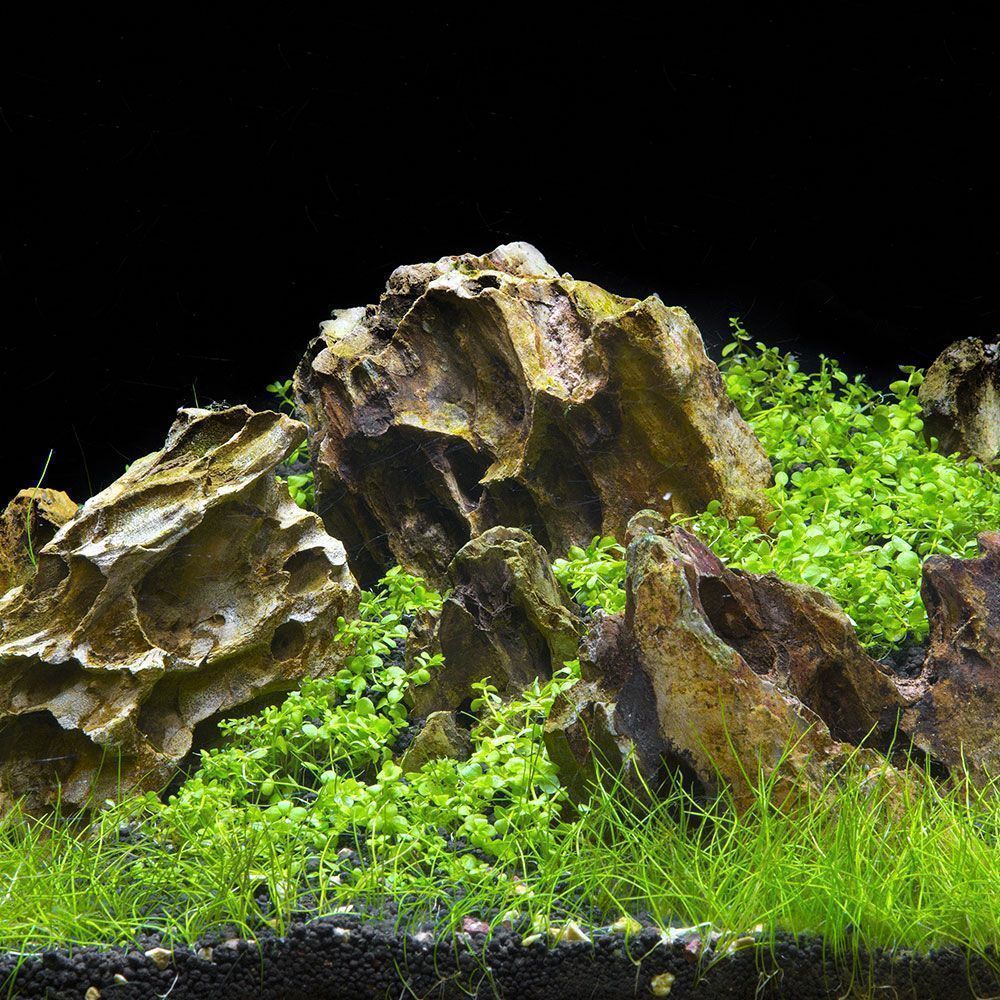
In a hardscape themed aquascape, you mainly use rock and wood. You must consider how much tannin each element leaches into the water and choose accordingly. Popular choices are Ryuoh, Seiryu, Ohko dragon, and black lava rocks.
How to Create an Aquascape?
Now that you are familiar with all the basic information to design your very first aquascape, let’s start giving the entire plan a shape here.
1. How to Choose the Right Location for Aquascape?
The ideal spot for your aquarium must be near the water and electricity source. Avoid areas with air conditioning vents or direct sunlight to prevent algae growth and temperature fluctuation. Choose a space where not a lot of people bump into the tank.
2. Create a Rough Sketch & List
The aquarium size, aquascape type and layout, fish and plants of your choice, equipment, and other essentials – choose everything. You can take inspiration from online pictures as well.
Create a rough sketch of it manually or by using online aquascape planners. Label each section clearly for which plants will go where. Make the sketch meticulously, and the remaining setup will be much easier.
3. Grab Yourself all the Necessary Materials
Once you have decided everything you’ll need and have a sketch, buy the basics like aquarium, stand, aquascaping equipment, substrate, and hardscape materials.
Buy the plants and fish later. If you don’t have a spare aquarium to house them, you’ll have trouble storing them.
4. Set up the Aquascape
Install the stand and clean it well. Wash the aquarium with plain water and set it up. Pour plain water into the aquarium to check for leaks.
If the aquarium is not leaky, continue setting up the remaining equipment, like lights and carbon dioxide sources.
5. Arrange the Substrate
Next, add the preferred substrate after rinsing it. Ensure it’s at least 5-7.5 cm (2-3 in) deep.
If you want to add two types of substrate – soil and sand, for example, place the cardboard vertically to separate both.
Create a slope with the soil on one side. Moisten it to prevent the soil slope from sliding or collapsing.
6. Set up the Hardscape
Scrub and soak the preferred hardscape for a few days in a separate container before adding it to the tank. This will strain any tannin from them and prevent spiking the tank water hardness.
During the scrubbing, check and get rid of all sharp edges. Rinse and place them in your tank according to your plans.
Be patient; this may take some time, as it’s your first attempt. You may even undo and redo the hardscape positioning.
7. Buy Vegetation & Start Planting
After you’re satisfied with your hardscape, get the plants and disinfect them. Begin with the foreground, midground, and finally the background.
Plant them diagonally into the substrate to prevent them from floating. Another option is to tuck the plants between hardscapes or anchor them with cotton lines.
You can also put moss around rocks and driftwood.
8. Fill the Tank with Water
Gently pour dechlorinated water of preferred temperature into the tank through a colander until it’s mostly filled. If you have soil, cover the soil with plastic sheets to avoid directly pouring water over it. Otherwise, it may get shifted from the impact.
Remove the plastic once filled and switch on the filter. Keep the light and CO2 sources on for 8-10 hours.
It’s normal if the water turns milky right after or if the driftwood grows fungi. Those clear up within a week.
After 2 weeks, add cleanup crews like otocinclus and amano shrimp to remove algae and decompose plant wastes.
9. Follow a Month-long Cycling & Add Fish
To cycle the tank with plants for a month, follow these steps:
- Add a little fertilizer.
- Perform 30% weekly water changes.
- Check for plant and algae growth, indicating the end of cycling.
- Monitor ammonia, nitrite, and nitrate levels throughout the month.
At the end of the month, add 1 ppm of ammonia to the water. After 24 hours, if ammonia and nitrite levels become undetectable, but nitrates are detectable, the cycling is complete.
Then, add the chosen fish, but don’t overpopulate the tank.
10. Perform Proper Maintenance
Some tips to maintain your aquascape are:
- Feed your fish for about 2 minutes daily to avoid overfeeding.
- Trim plants of each area differently, i.e.,
- Regularly trim foreground carpet plants to prevent them from decaying.
- Cut the midground plants only when they grow too big.
- Encourage better growth of background plants by trimming. Cut the stem at a low spot for the first time. But cut higher and higher from the next trim onward.
- Remove all trimmed pieces from the tank.
- Perform 33% water changes 1-2 times a week, even if the water looks clear.
- Clean the biological filter media once every 1-2 months. Don’t do it too vigorously to let the beneficial bacteria stay.
A word from FishInAquarium
Before beginning your aquascaping journey, it’s better to get a slight hands-on experience in basic fishkeeping. Then, you’ll get accustomed to the basics. Once that’s done, you’re all set to explore the artistic side of aquascaping.
While you build an aquascape, remember to enjoy the ride. The best designs will flow freely only when you feel positive and relaxed.
With that said, are all of your questions about aquascaping answered? If yes, don’t forget to share it with fellow enthusiasts and aspiring aquascapists. Begin this creative journey with everyone and share the fun.
If you have more questions, drop us an email, and we’ll happily get you the answers!